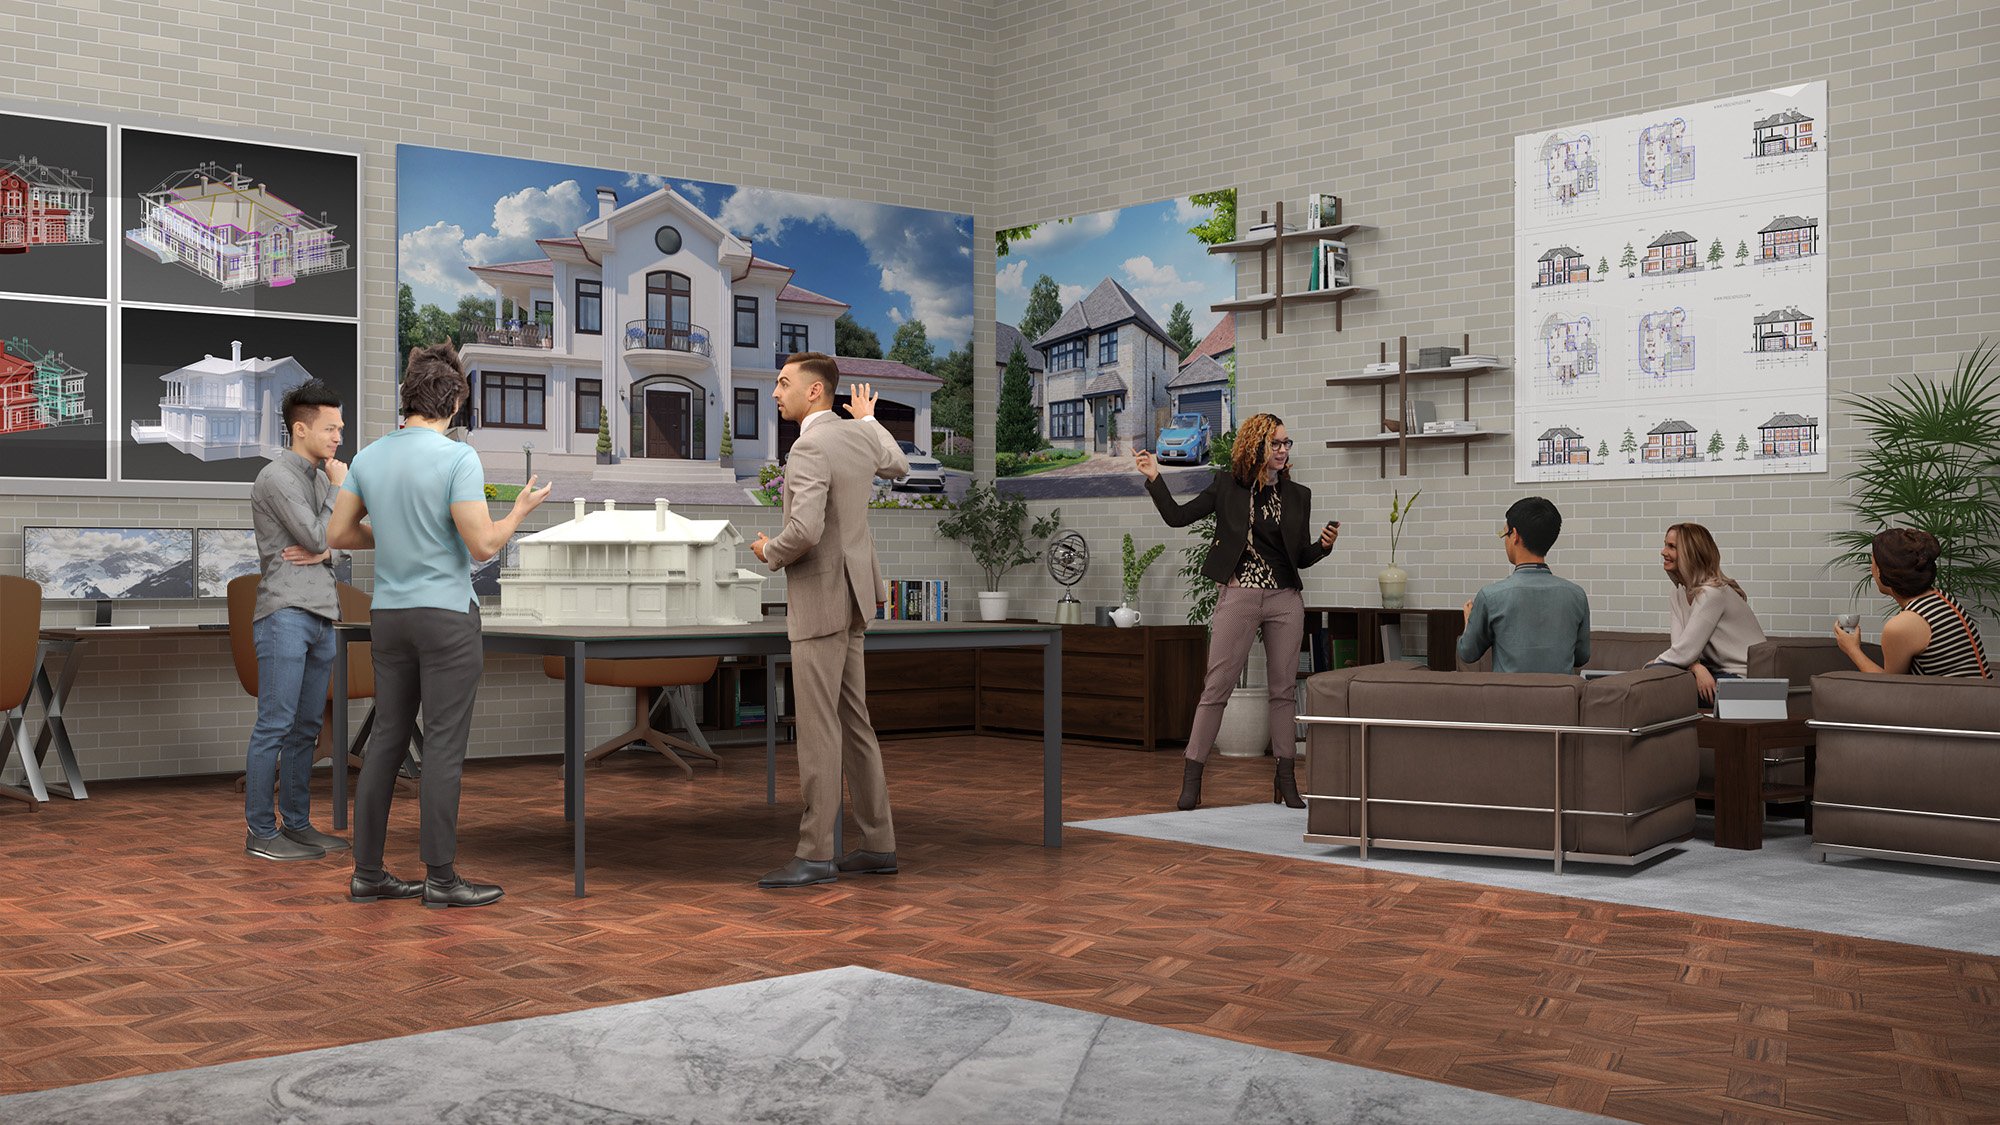
How the magic happens
Step 1: Initial consultation
The journey begins with an initial consultation, where we invite you to share your vision, objectives, and specific needs for your project. This first step is crucial for establishing a clear understanding of your expectations and how we can best fulfil them.
We listen attentively, offering guidance and insights to ensure that we start on solid ground.
This meeting sets the tone for our collaboration, ensuring we're aligned with your vision right from the start.
Step 1 - Initial consultation
The journey begins with an initial consultation, where we invite you to share your vision, objectives, and specific needs for your project. This first step is crucial for establishing a clear understanding of your expectations and how we can best fulfil them.
Step 2: Project Brief and Timescales
Following our initial consultation, we'll formalise the project brief and outline the expected timescales. This step involves a deeper dive into the details of your project, including design preferences, key features, and any specific requirements you may have.
We'll also discuss the project timeline, setting realistic milestones to ensure timely delivery without compromising on quality.
This stage lays the foundation for a smooth and efficient process, ensuring that both parties have a clear understanding of the path ahead.

Step 2: Project Brief and Timescales
Following our initial consultation, we'll formalise the project brief and outline the expected timescales. This step involves a deeper dive into the details of your project, including design preferences, key features, project timeline and any specific requirements you may have.
Step 3: 3D Modelling
With the project brief in hand, our team embarks on the 3D modelling phase. This is where your vision begins to take shape in a tangible form.
Using the latest 3D modelling software, we craft a detailed model of your project, paying close attention to the architectural nuances and specifications provided.
This model serves as the base for all subsequent visualisation work, ensuring accuracy and fidelity to your original design.
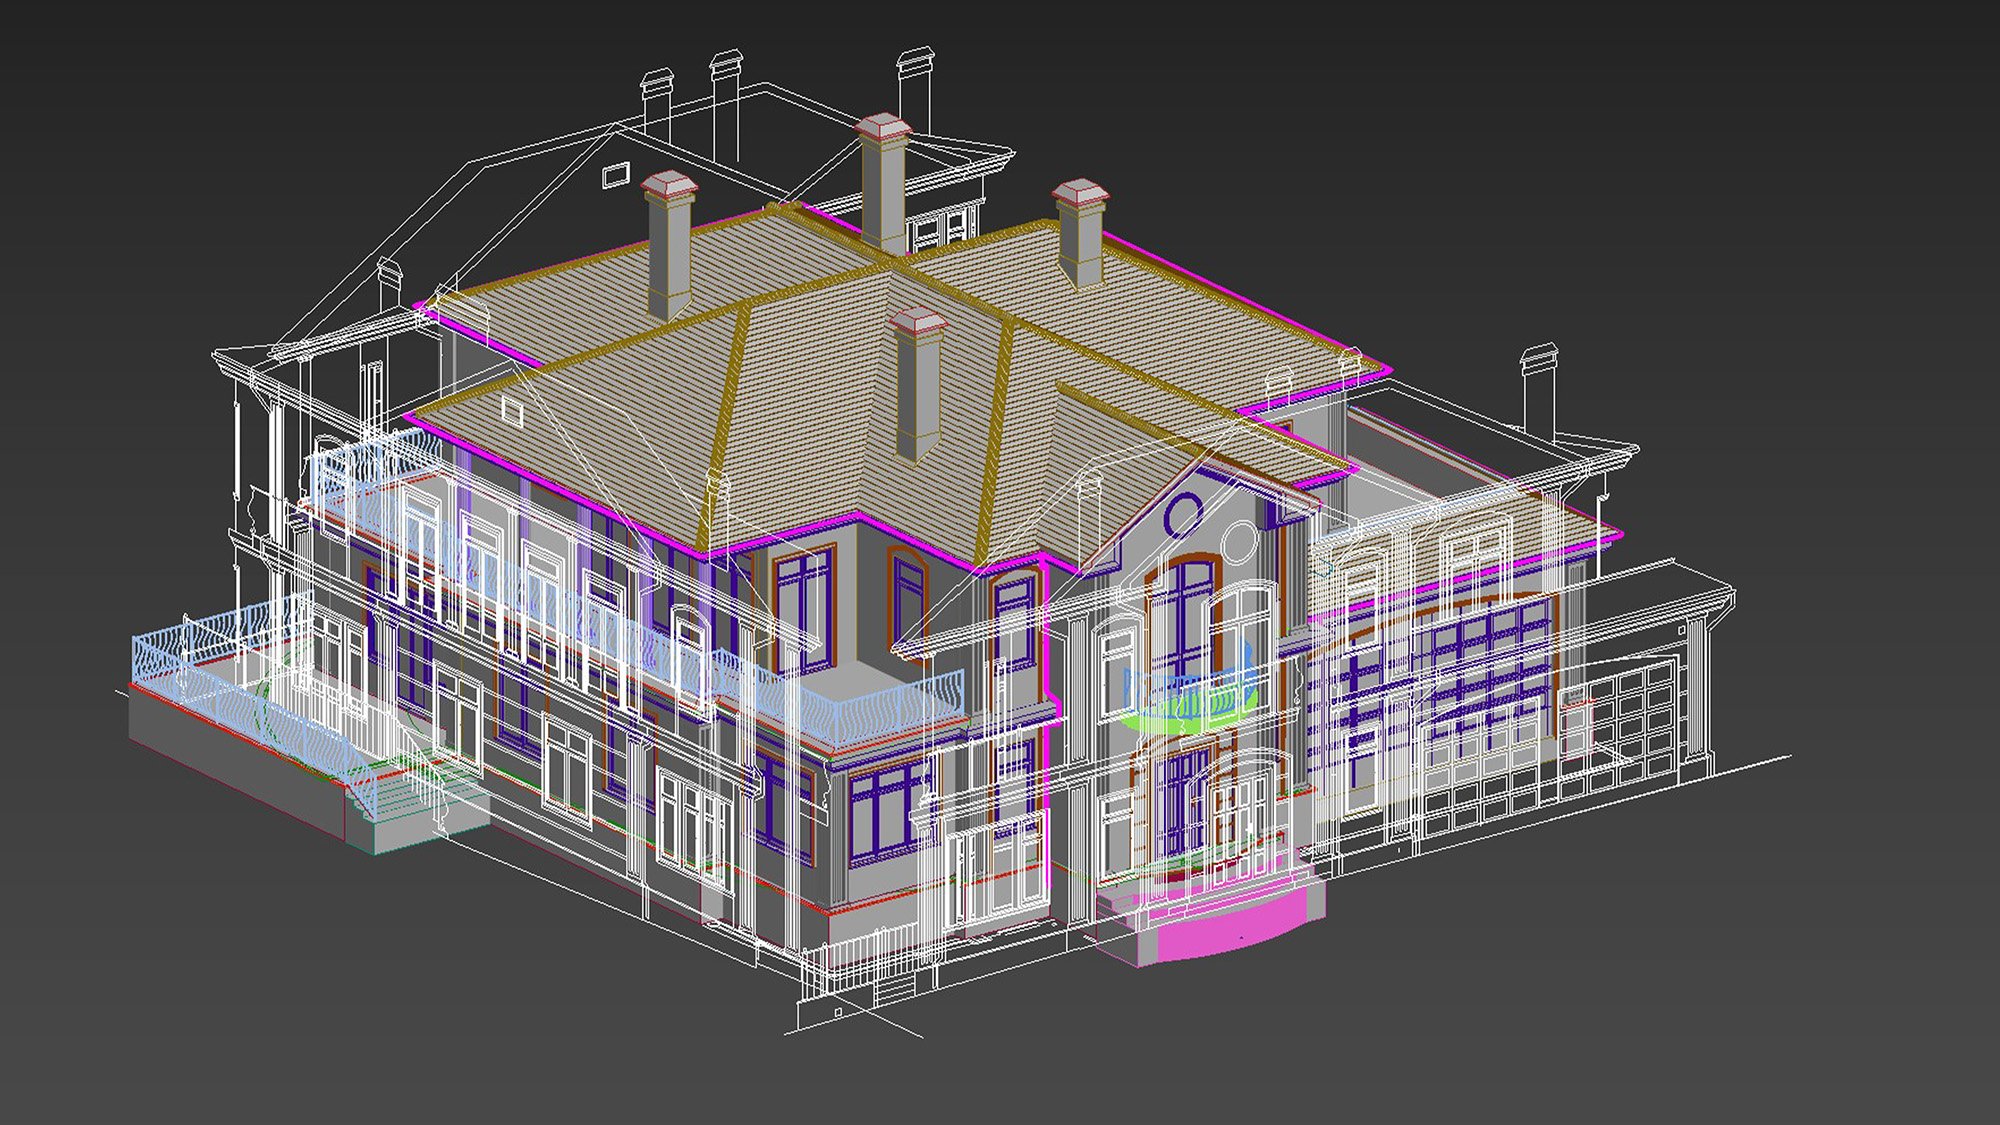
Step 3: 3D Modelling
With the project brief in hand, our team embarks on the 3D modelling phase. This is where your vision begins to take shape in a tangible form. Using the latest 3D modelling software, we craft a detailed model of your project, paying close attention to the architectural specifications provided.
Step 4: Grey Render and Camera Angle Selection
Once the 3D model is complete, we proceed to the grey render phase. This step involves generating a preliminary, non-textured render of your project, which allows us to experiment with different camera angles and compositions.
We collaborate with you to select the best viewpoints that highlight the project's key features and architectural beauty.
This stage is critical for envisioning the final outcome and making any necessary adjustments before adding textures and materials.

Step 4: Grey Render and Camera Angle Selection
Once the 3D model is complete, we proceed to the grey render phase. This step involves generating a preliminary, non-textured render of your project, which allows us to experiment with different camera angles and compositions.
Step 5: First Preview after Materials and Textures
After finalizing the camera angles, we introduce materials and textures to the 3D model, breathing life into the initial grey render.
This first preview offers a glimpse into how the final visuals will look, showcasing the interplay of light, shadow, and materiality.
We encourage feedback at this stage, ensuring that the chosen materials and textures align perfectly with your vision and expectations.

Step 5: First Preview after Materials and Textures
After finalizing the camera angles, we introduce materials and textures to the 3D model, breathing life into the initial grey render. This first preview offers a glimpse into how the final visuals will look, showcasing the interplay of light, shadow, and materiality.
Step 6: Second Preview after Landscape and Decorations
The second preview elevates the project further by incorporating landscaping and decorative elements.
This step is where the environment around your project comes to life, enhancing the realism and emotional impact of the visualisation.
It's an opportunity for final adjustments, ensuring that every element, from vegetation to furniture, contributes to the overall aesthetic and vibe of the project.

Step 6: Second Preview after Landscape and Decorations
The second preview elevates the project further by incorporating landscaping and decorative elements. This step is where the environment around your project comes to life, enhancing the realism and emotional impact of the visualisation.
Step 7: Final Review and Render CGIs
The final step in our process is the comprehensive review and production of the final render CGIs.
This stage is where we refine the details, apply final touches, and ensure that the visuals meet our high standards of quality and realism. Once approved, we deliver the high-resolution CGIs along with any additional deliverables agreed upon.
Following the delivery, we issue the final invoice, marking the completion of the project but also the beginning of any future collaborations.

Step 7: Final Review and Render CGIs
The final step in our process is the comprehensive review and production of the final render CGIs. This stage is where we refine the details, apply final touches, and once approved, we deliver the high-resolution CGIs along with any additional deliverables agreed upon.